Adding the Borders
-
- It is very difficult to attach binding to a Bargello quilt that has no borders, so we strongly suggest at least one border. Quilt Master patterns allow an extra ¼” on the outer border for our preferred method of attaching the binding.
- Borders can either be mitred or butted, our patterns are designed for the butted method as this is easier to do and uses less material.
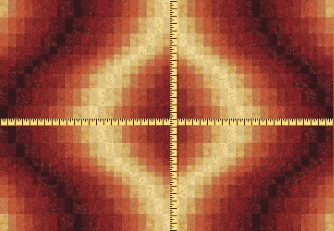
- When cutting the borders, you should use the calculated lengths as given in your original pattern. If you do not, you risk your borders being wavy or too short. However, since some sewing machines do not sew exact quarter inch seams, you may want to measure your quilt to check. When measuring you need to lay it flat and measure across the centre:
- For each border, you need to:
- Cut the number of full width (approximately 40″) pieces as described by the pattern for your quilt.
- Sew these together into one long strip, using ¼” seams.
- Cut the four lengths for each border—as given in the pattern or to the lengths you measure—and sew them on as described below.
- It is very difficult to attach binding to a Bargello quilt that has no borders, so we strongly suggest at least one border. Quilt Master patterns allow an extra ¼” on the outer border for our preferred method of attaching the binding.
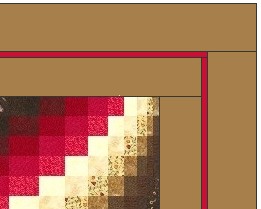
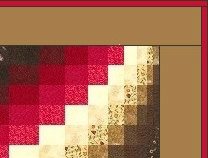
Butted Borders
-
- Pin one of the long pieces of the first border to a long side of the quilt, matching the ends.
- Sew and press.
- Repeat for the second long side.
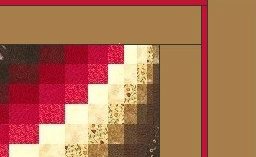
- Then repeat for the two short sides.
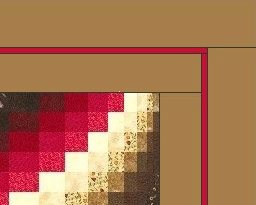
- Repeat for the other borders.
1
2
3


4
5
6
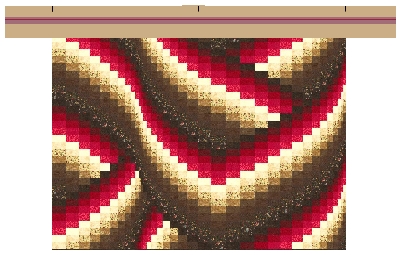
Mitred Borders
-
-
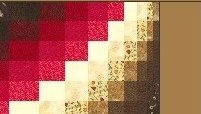
- Sew together all the border pieces for each side, ending up with four multi-coloured border pieces.

- On the inner edge of the wrong side of each piece, mark the centre and then measure from the centre outwards ½ the length/width of the quilt top (as given by the Specific Instructions).

- Pin one of the longest borders to one of the long sides of the quilt, matching the ends and the centre.
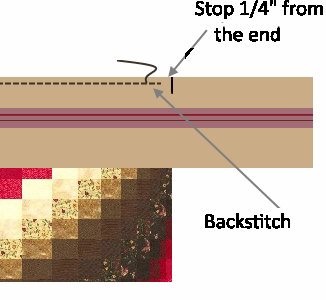
- Sew, starting and stopping ¼” from the beginning and end of each seam. Backstitch to secure the ends.
- Press the seam towards the borders and then repeat with the other long side and then with the two short sides.
- Fold the quilt at one of the corners—right sides inwards—and align the border edges. The quilt fold should be at 45 degrees to the border – use one of your quilt rulers to check this. Draw a line (with the ruler) to mark the seam line.
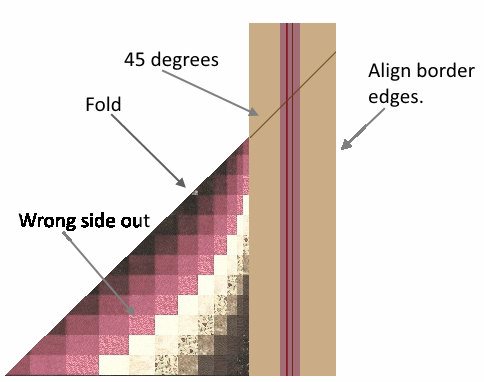
- Pin the seam making sure that the seams of each border are aligned.
- Sew along the marked line. Trim to ¼” and press open.
- Repeat for the other three corners.
- Sew together all the border pieces for each side, ending up with four multi-coloured border pieces.
-